

How To: Homemade Almond Milk
Over the years I have come to find that I need to mostly stay away from dairy. I do include some cheese and butter from grass-fed cows, but other than that, I have to stay away from it. Milk, especially, makes me feel sick to my stomach and also causes me to have breakouts. When I first discovered this, I started trying different store bought almond milks only to later find that many of these have carrageenan (a thickening agent) that I prefer to avoid if possible. There are a few brands of almond milk that are carrageenan free and we use these occasionally (when I forget to make it myself). My 17 month old daughter has shown some signs of dairy intolerance as well (i.e. cradle cap, eczema, upset stomach) and so we have opted to not do cow’s milk with her. She mostly drinks water but has about 4-6 ounces of almond milk per day.
Surprisingly, almond milk is really easy to make as long as you have the right equipments. I make a big batch of it once or twice a week and use it for my daughter and in my smoothies. Here’s how you do it:
Equipment/Materials Needed
- High Powered Blender (I have a VitaMix)
- Nut Bag (like this one)
- 1 Cup Almonds
- 1/2 Teaspoon Sea Salt
- Filtered Water
- Optional: organic vanilla extract, cinnamon, dates, maple syrup, or honey
- Optional: vitamin d drops (for little ones)
Instructions
- Measure out 1 cup of almonds and place them in a mason jar full of filtered water and sea salt. Screw on the lid and place them in the refrigerator overnight (or at least 12 hours).
- In the morning, drain the salt water from the almonds and rinse well. Add the almonds to your blender and cover with new filtered water (about 4 cups). Be sure to leave a little space at the top of your blender because the mixture will expand.
- Start your blender on low and slowly work up to the highest speed. Blend until smooth and creamy.
- Strain the mixture using your nut bag. Save the pulp to make almond meal (instructions below).
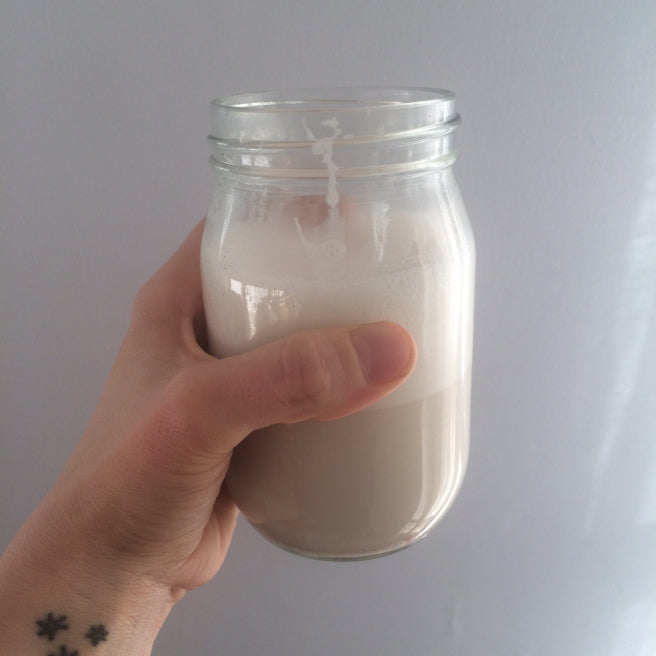
- At this point you can pour the mixture into a glass jar and drink as is or you can return the milk to the blender and flavor. I like to add a teaspoon of vanilla extract, a few dashes of cinnamon, and a couple teaspoons of honey to our almond milk. Add vitamin d drops at this point as well.
- Keep almond milk refrigerated in a covered glass container for 5-7 days.
Using the pulp to make almond meal:
- Take the leftover pulp and spread it out on a parchment paper covered baking sheet.
- Turn you oven onto its lowest setting (mine is the WARM setting) and place baking sheet in the oven. Let it dehydrate until the almond meal has dried out.
- Then place your almond meal back in your high powered blender or food processor and blend/grind until you have a flour like consistency. Store in a glass jar and use in recipes that call for almond meal or almond flour.

Leave a comment
Comments will be approved before showing up.
Also in Blog

Spring Diffuser Blends Printable

Spring Cleaning + Essential Oils

Winter Diffuser Blends
It's the most wonderful time of the year!! These scents will make your home smell all warm and cozy! Here are some of my favorite diffuser blends for the winter season.
...© 2026 Some Call Me Crunchy.