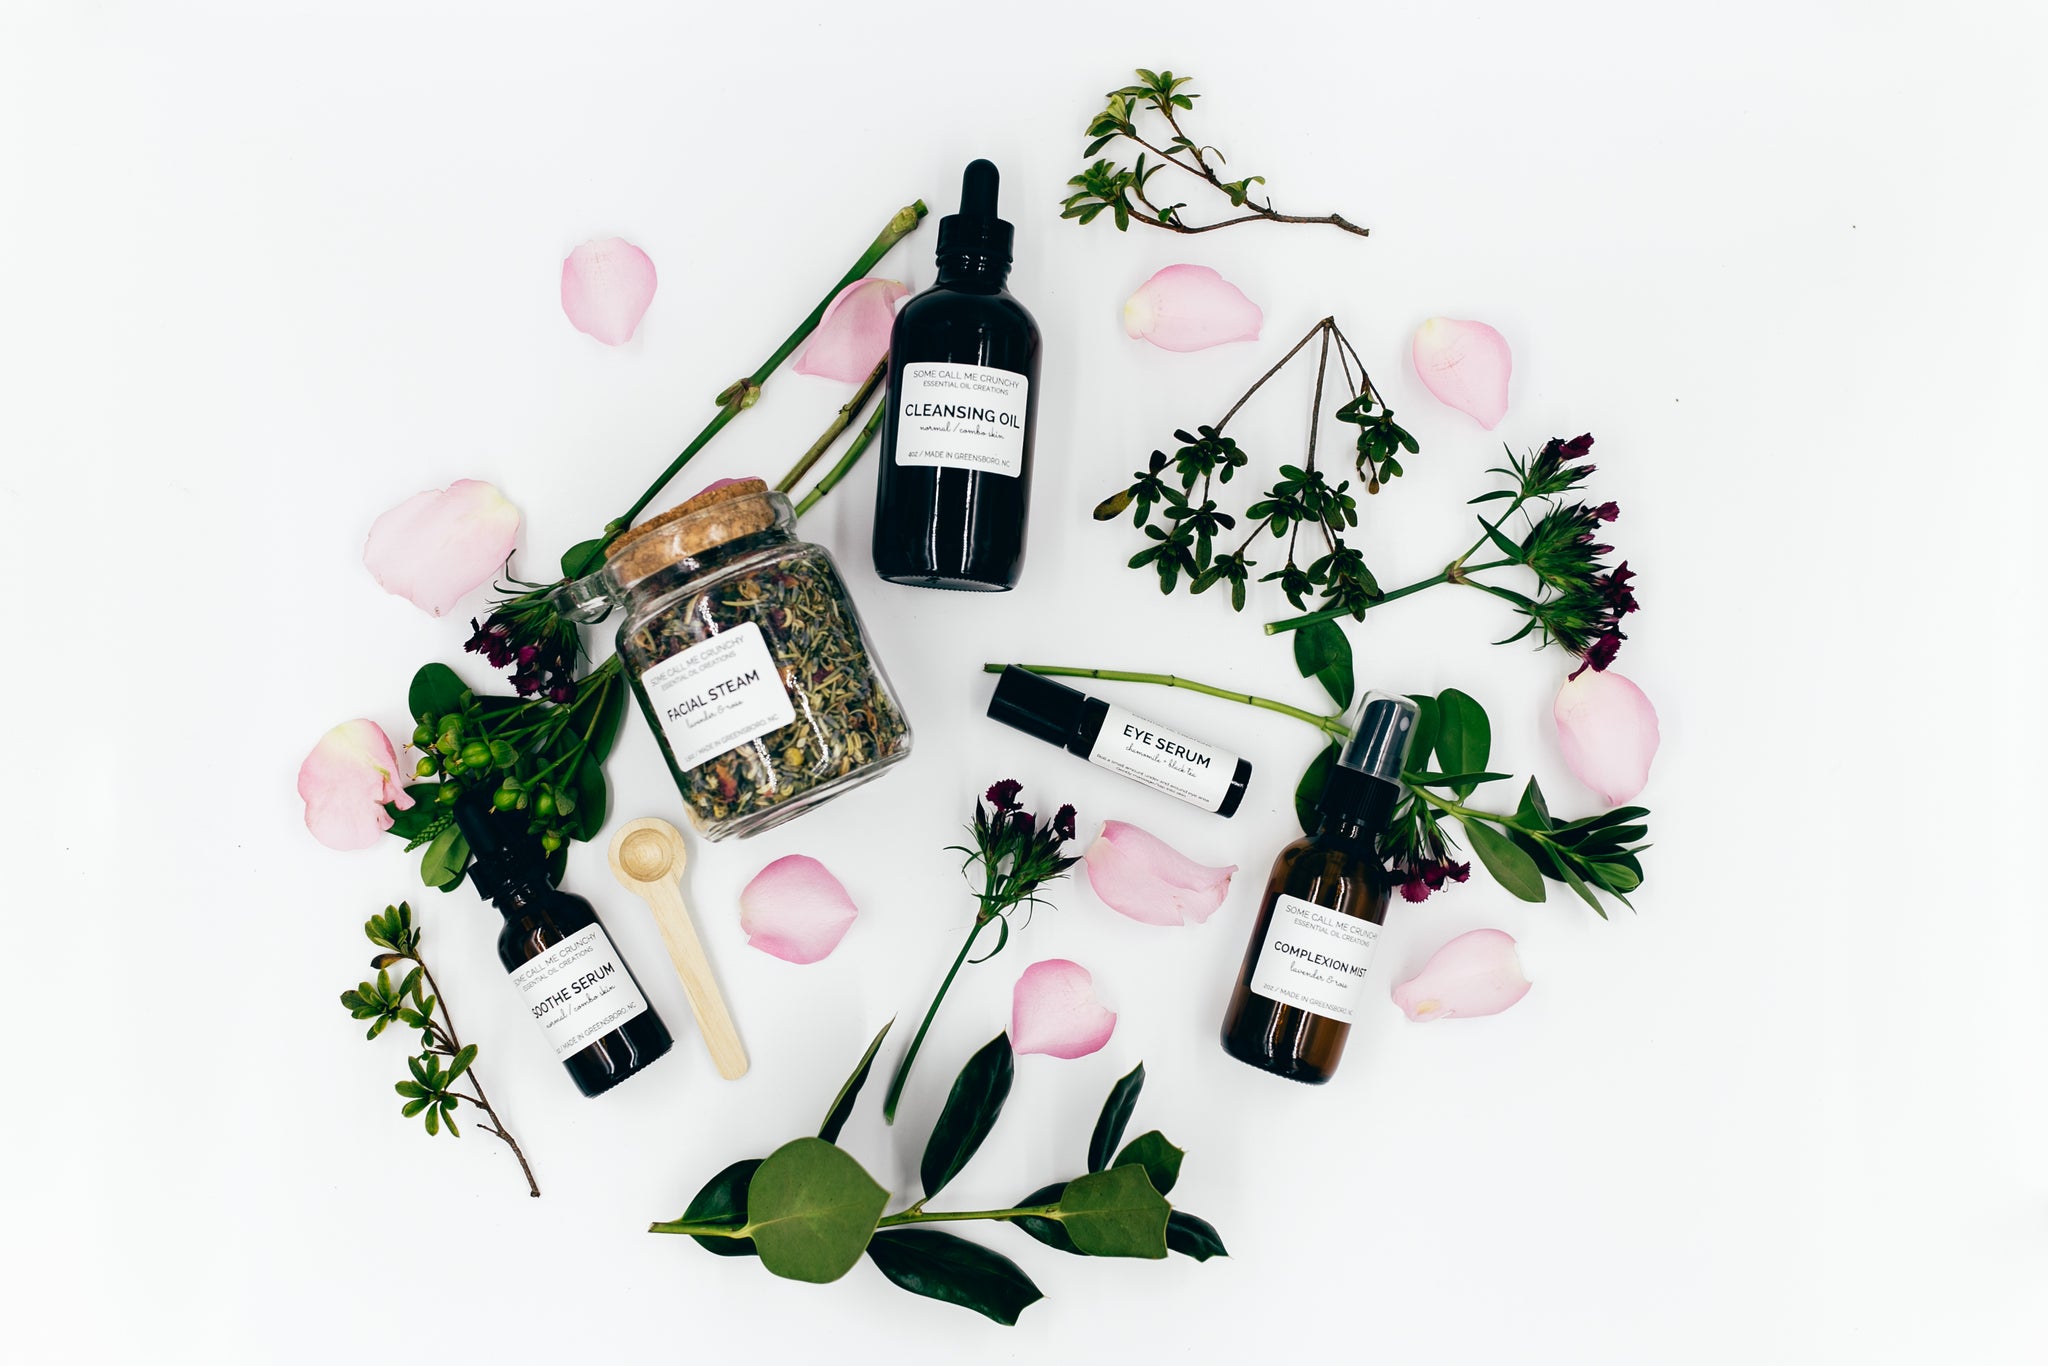
Au Naturale Face Care Routine + My Battle with Acne

If you’ve known me for any length of time, then you know that I have battled with acne off and on since I was a teenager. I would go through phases where I would get horrible cystic acne all over my face. My mom took me to a dermatologist as a teenager and this doctor tried her best to get me to see that it had a lot to do with what I put into my body. Oh, how I wish I had listened to her instead of calling her a quack as soon as I left her office. I ended up taking antibiotics to deal with the problem for way too long. If you know anything about candida yeast overgrowth , then you know this was a bad thing. It wasn’t until I started having chronic migraines that I cleaned up my diet and noticed that my skin was getting better as well. I went for about 3 years while doing a strict Paleo diet with clear skin. Then one day it just came back with a vengeance. I know that both my migraines and acne are related to hormones and I’m pretty sure that this new breakout had a lot to do with stress (i.e. finishing grad school, starting a whole new profession). It wasn’t until this point that I looked into not only keeping my diet clean, but also cleaning up how many other toxic things I surrounded myself with. This is when I found out about essential oils and discovered that I could use them to make many of my own products without harsh chemicals. I also saw an esthetician at the time (who is absolutely fabulous) and she did some much needed exfoliation and also recommended blue light therapy. This little wand is by no means inexpensive, but it was something that I could do from home and in the long run it was actually saving me money (I wish I had kept up with all the money I have spend on new products and prescriptions for acne over the years). The blue light and exfoliation treatments worked to kill all the bacteria hiding under my skin. As my skin cleared up, I knew that I wanted to start a face-care routine that did not include harsh products/chemicals. I researched how to use essential oils for my face and found a routine that I absolutely love.
Below you will find the recipes and steps for this routine. I am also working to make these products available on my Etsy shop if you would like me to do the work for you. 
Step 1: Oil Cleansing Method
For so long I was convinced that I couldn’t put anything oil based onto my skin because it would break me out. As I did more research, I found this not to be true and that nourishing skin oils actually work to dissolve the oil on your skin. Here is how you make it.
According to your skin type, mix ingredients together and store in a container.
- For combination skin: 1/4 cup castor oil or hazelnut oil and 3/4 cup olive oil, sunflower oil, or almond oil
- For oily/acne prone skin: 1/3 cup castor oil or hazelnut oil and 2/3 cup olive oil, sunflower oil, or almond oil
- For dry skin: 1/8 castor oil or hazelnut oil and 7/8 cup olive oil, sunflower oil, or almond oil
Note: I also like to add a few drops of vitamin e oil and 5 drops of both lavender and melaleuca essential oils.
Directions:
- Before bed and in the morning, pour a quarter-sized amount in your hand and rub over entire face (this also removes makeup).
- Place a washcloth under hot water (I usually get it as hot as I can stand) and place the wash cloth over your entire face. Leave it for one minute or until it cools. As the cloth cools, wipe the oils off of your face. You can repeat this if you’d like.
- Follow with facial serum (below).
Step 2: Face Serum for Moisture
In the summer months, I apply a few drops of this serum and that’s all I need for a moisturizer. During the winter, if my skin is extra dry, I add a tiny bit of shea butter to the serum to add a little extra moisture (just mix the shea and serum in your hand before each application).
Ingredients:
- 2 ounce dropper bottle
- 5-10 drops tamanu oil
- 2-4 drops vitamin e oil
- 2 drops geranium essential oil
- 2 drops frankincense essential oil
- 2 drops ylang ylang essential oil
- 2 drops lavender essential oil
- 2 drops juniper berry essential oil
- 1 drop sandalwood essential oil
- 1.75 ounces jojoba oil
Directions:
- Place tamanu oil, vitamin e oil, and essential oils in your dropper bottle.
- Fill the rest of the container with jojoba oil, leaving a small amount of room at the top.
- Place the dropper on the bottle and secure.
- Shake to mix ingredients well.
- Use 3-4 drops after cleansing morning and night.
Note: The recipes about are not the exact recipes I use for my facial care line, but they are a simpler version that you can make at home.
Leave a comment
Comments will be approved before showing up.
Also in Blog

Winter Diffuser Blends
It's the most wonderful time of the year!! These scents will make your home smell all warm and cozy! Here are some of my favorite diffuser blends for the winter season.
...
Transitioning Your Skincare for Fall/Winter


